Set Trust Lines
In order to receive payments in anything other than XRP, you need to have a trust line to that asset's issuing account. This avoids so called token spam and gives you the power to decide what assets to hold and receive.
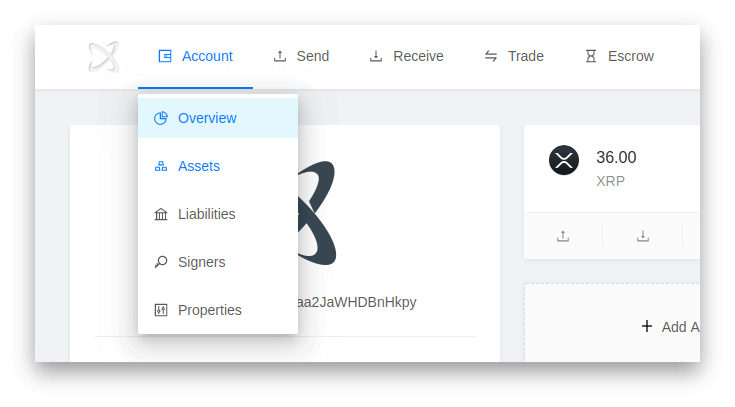
Setting a trust line using XRP Toolkit is referred to as adding an asset. You can add assets and in other words set trust lines from your account to different issuers from the Assets page, which you can navigate to from the Account menu.
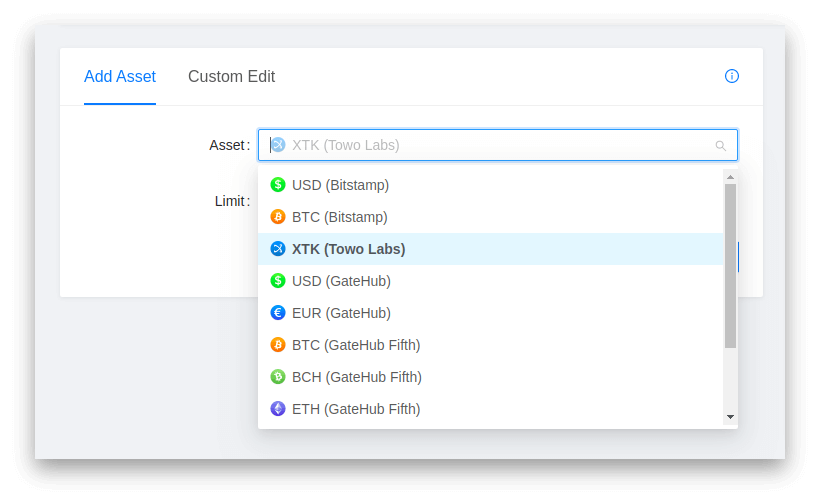
In the Add Asset form on the Assets page, select the asset you'd like to be able to hold and receive from other accounts. All assets in the searchable dropdown are considered to be from well known issuers, a few examples are USD from Bitstamp, EUR from GateHub and SOLO from Sologenic. Once you've selected an asset to add, click the Next button to proceed.
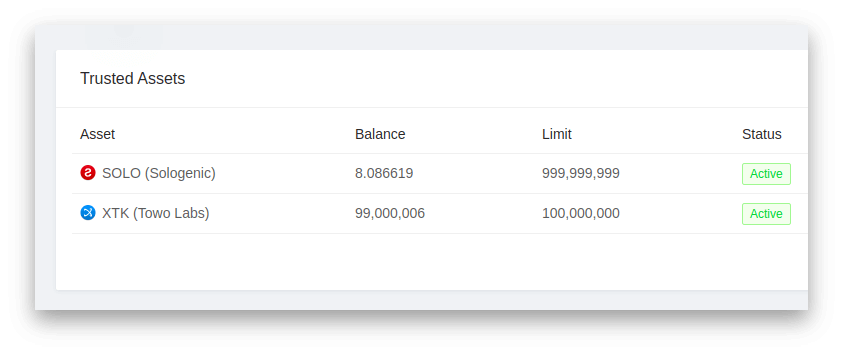
When you've reviewed all transaction details and signed the transaction using your wallet, the added asset will appear in the Trusted Assets table, on the Overview page and in the Destination Details when other users lookup your account. You can now hold and receive the added asset.
Note that your account's owner reserve will increase by 0.2 XRP for every trust line you own. Your total balance will remain the same, but your available balance will decrease by 0.2 XRP while the trust line is active. If you want to remove a trust line and release the previously reserved XRP, ensure that the asset's balance is zero and click Remove in the Trusted Assets table.